While you and your family are out enjoying your rig all summer long, camping, and going on crazy adventures, the last thing that is going to cross your mind is the topic of RV roof repair (Although the team here at Outrig service doesn't understand why!)
All jokes aside, checking your RV roof for repairs is critical and there are several important steps to follow to make sure that it is done correctly.
It should be done every 6 months. Here's how to do it efficiently and safely in 4 easy steps:
1. Set Up A Secure Ladder On Level Ground
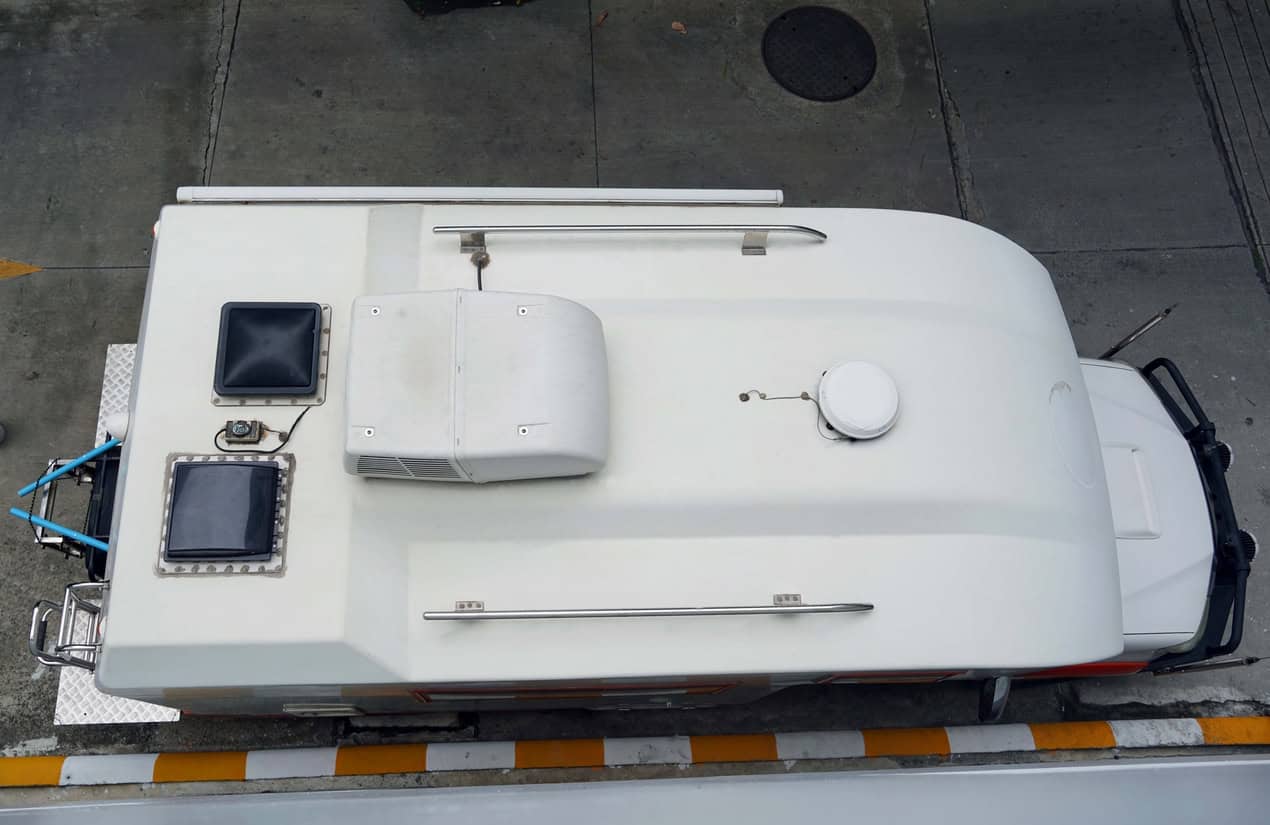
Once you climb up, do a visual inspection. Keep an eye out for any cracks, bumps, gaps, or obvious damage. Be sure to take note of where the damage is on the RV roof.
2. Wipe A Small Section Of The Roof
If the roof happens to be dirty or chalky, it's time to give your RV roof a good bath! Proper cleaning and conditioning is essential for a happy and healthy rig that will stay on the road all season long.
3. Check The Four Corners
Check the four corners by gently...I'll repeat gently... pressing down on the roof. If any of the corners feel soft or brittle, this could be a sign that water damage is lurking below the surface. Do not hesitate to get this issue fixed since that will only continue to get worst over time.
4. Evaluate The Roof Trim Seal
You didn't think we'd mention the roof trim seal, did you? Think again! It should be solid, not weak and definitely not peeling. If it looks like it has seen better day then a resealing is just what the RV doctor ordered.
Keeping up with RV maintenance especially any RV roof repair is critical for the longevity of your RV. If you have any questions about your RV, don't hesitate to get in touch and learn more about our RV services.